Sometimes we need to show our instagram photos or videos on our website. And we can do this by using the instagram graph api in php. But before using the instagram graph api we will do instagram basic display api setup. So, follow the steps given below.
Step 1 : Instagram Basic Display API Setup
First of all Create a Facebook Developer Account, click My Apps, and create a new app. When asked what your app needs to do, select Build Connected Experiences or Something Else/For Everything Else.
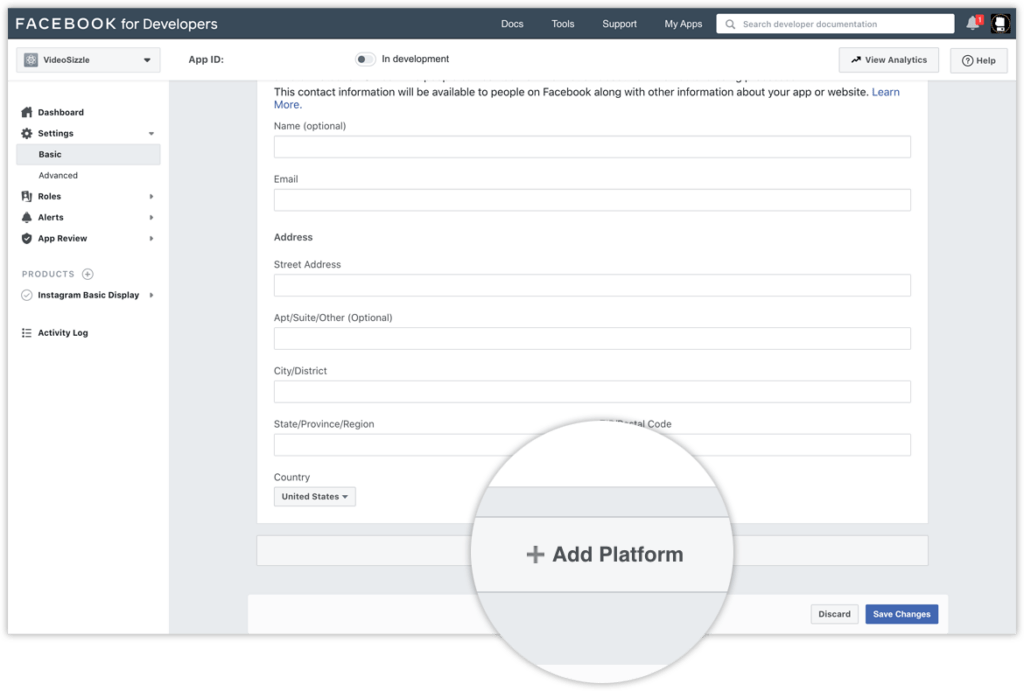
Once you have created the app and are in the App Dashboard, navigate to Settings > Basic, scroll to the bottom of page, and click Add Platform.
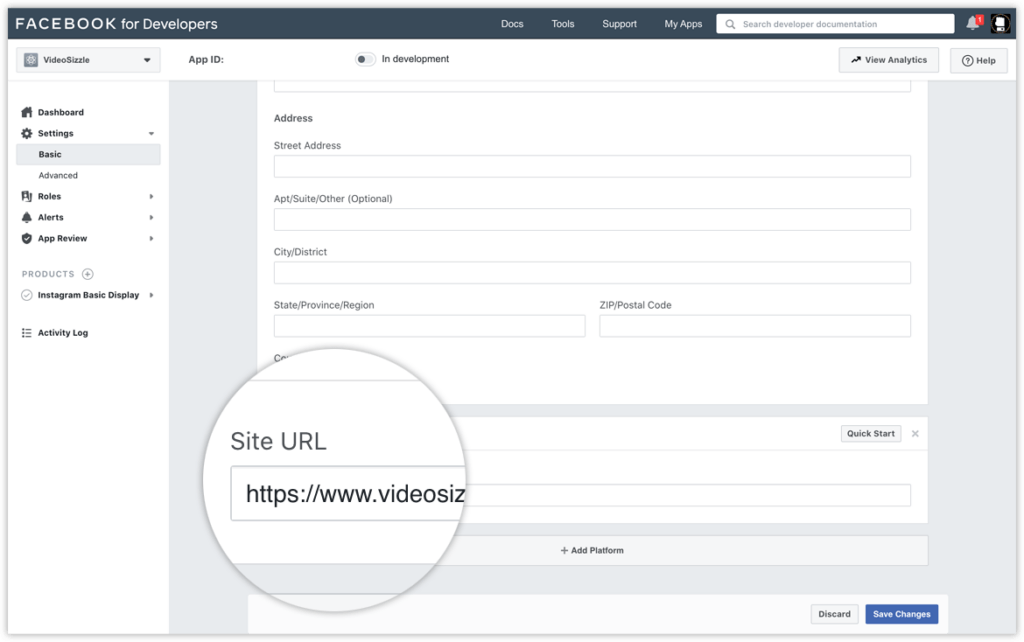
Choose Website, add your website’s URL, and save your changes. You can change the platform later if you wish, but for this tutorial, use Website.
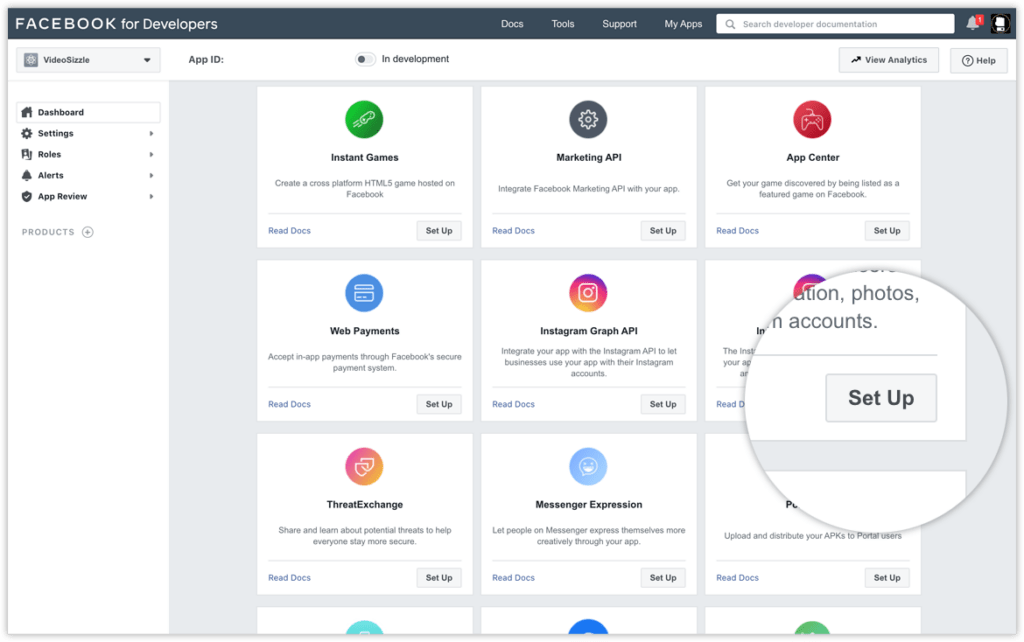
Now, Click Products, locate the Instagram Basic Display product, and click Set Up to add it to your app.
Scroll to the bottom of the page and click Create New App.
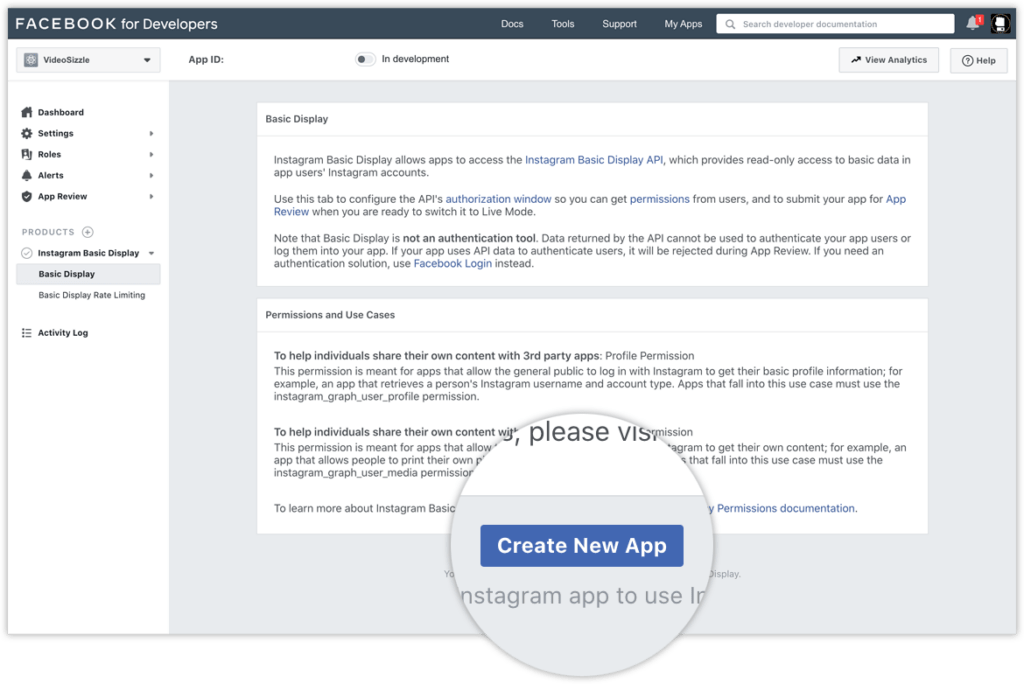
In the form that appears, complete each section using the guidelines below.
Display Name
Enter the name of the Facebook app you just created.
Valid OAuth Redirect URIs
Enter your website’s URL. Normally this would be a dedicated URI that can capture redirect query string parameters, but for this tutorial your website’s URL will be fine.
For example: https://socialsizzle.heroku.com/auth/
After you enter a URL, save your changes and check the URL again; we may have appended a trailing forward slash depending your URL structure. Copy the complete URL somewhere since you will need it in later steps to get authorization codes and access tokens.
Deauthorize Callback URL
Enter your website’s URL again. Eventually you will have change this to a URL that can handle deauthorization notifications, but for the purposes of this tutorial, you can re-use your website URL.
Data Deletion Request Callback URL
Enter your website’s URL once again. Just like the Deauthorize Callback URL, you will eventually have change this to a URL that can handle data deletion requests, but for now you can re-use your website URL.
App Review
Skip this section for now since you will not be switching the app to Live Mode during the tutorial.
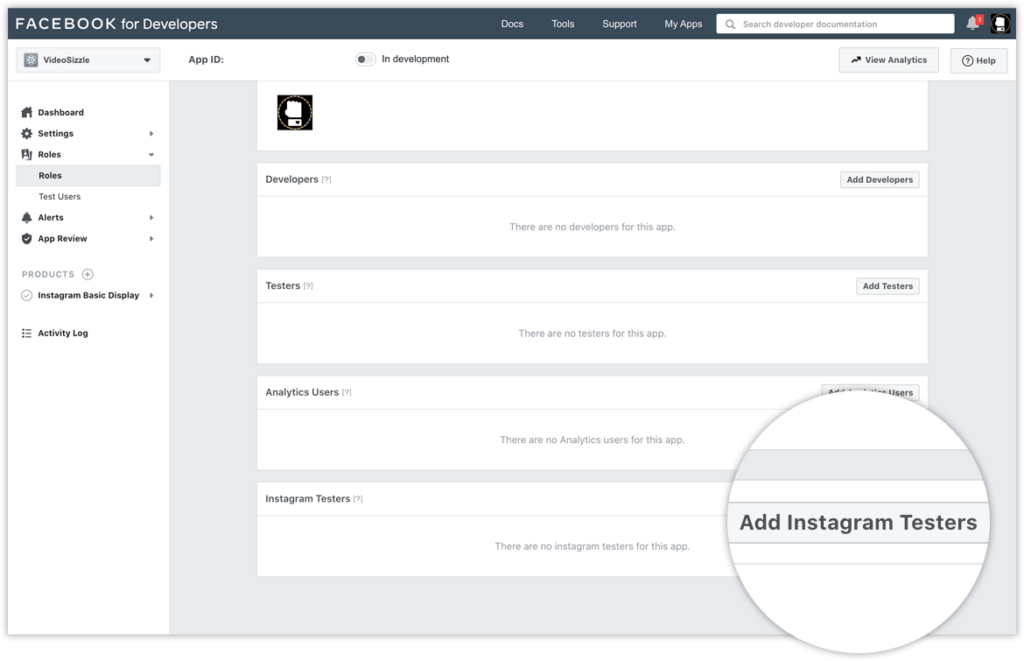
Step 2: Add an Instagram Test User
Navigate to Roles > Roles and scroll down to the Instagram Testers section. Click Add Instagram Testers and enter your Instagram account’s username and send the invitation.
Open a new web browser and go to www.instagram.com and sign into your Instagram account that you just invited. Navigate to (Profile Icon) > Edit Profile > Apps and Websites > Tester Invites and accept the invitation.
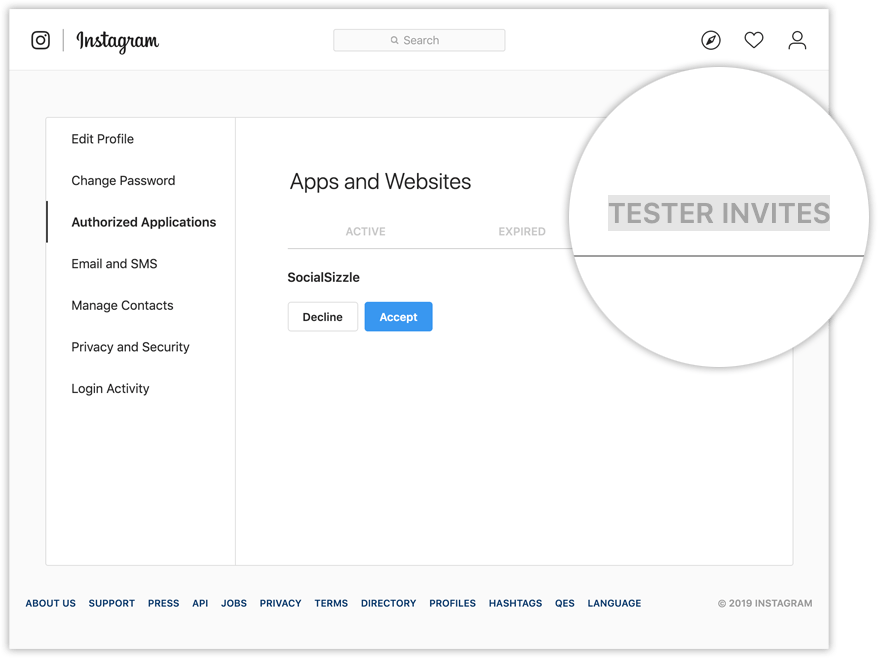
Your Instagram account is now eligible to be accessed by your Facebook app while it is in Development Mode.
That’s it we have setup to integrate the instagram graph api in php or laravel website. Now to integrate the instagram graph api in php or laravel read this article.
If you want more tutorials about APIs then visit our APIs page regularly, Subscribe Your Email and follow us on facebook, twitter, tumblr, linkedin and if you like this article then share this.